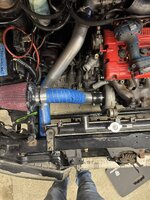
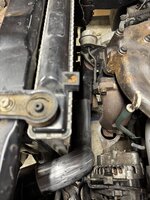
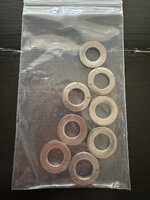
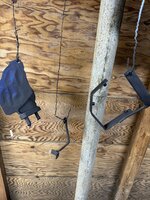
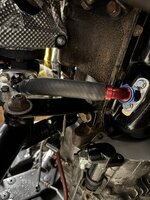
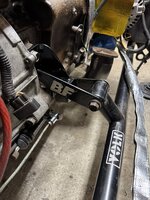
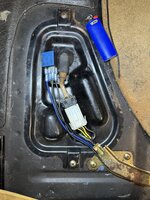
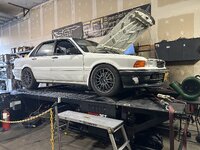
I cleaned up the side supports for the front front bumper. I addressed all the old and broken hardware with welded nuts/rivnuts and replaced the M6 bolts. Threw a few coats of paint on them and bob is your uncle (they ended up black).
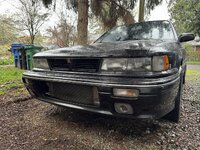
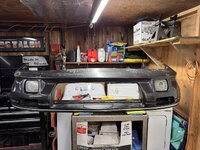
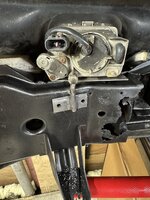
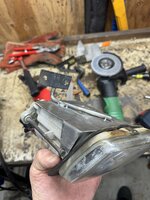
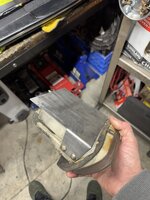
When I purchased the car, it came with some pretty ugly fog lights (if you look closely in the first photo of the build thread you can see them) held in with some self tapper screws however, the seller included some OEM fog lights without any brackets. The car itself is missing all of the attachment points so I made a mounting solution and was happy with the end result. - If you look closely you can see I have the ABS plastic on the front bumper.
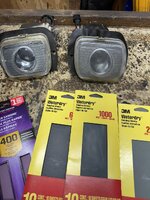
I wet sanded the fog lights, as well as the headlights. I sanded up to 5000 grit, did a polishing and then added a clear coat.
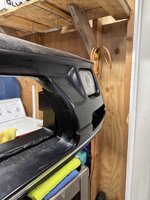
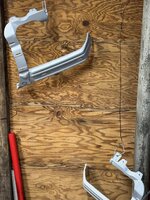
-I didn't snap any photos, however the mounting tabs that connect the fiberglass portion of the front bumper to the foam and crash bar where corroded past use, those where fabricated as well.


