BoostedAWD91
Well-known member
I had to replace a bad bulb in one of my jdm fender lights and since it was the first time i was doing this i wanted to document it incase anyone else needed to do this they would know how to.
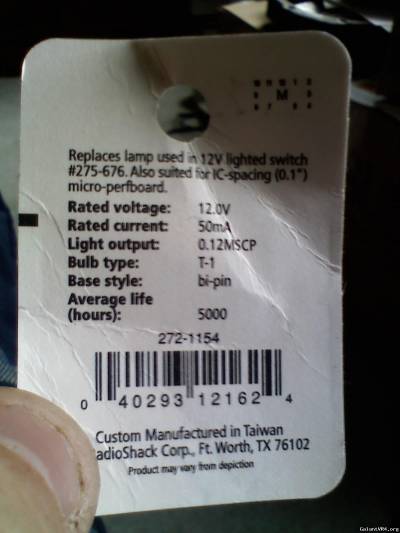
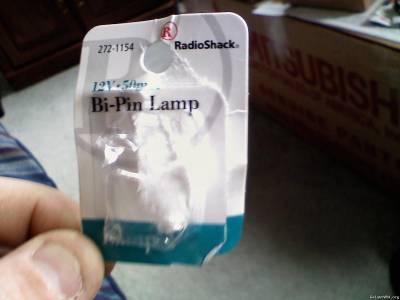
Radioshack sells these bulbs they are almost exactly the same size as the factory bulbs and they are just as bright
First remove your light assembly from you fender if not done so already. On the bottom side of the light assembly there is two screws which u must remove.
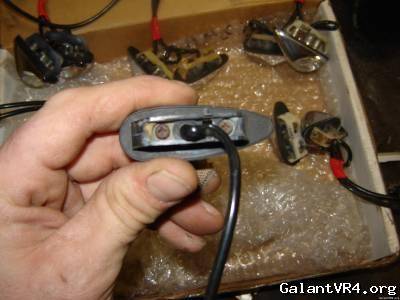
After you remove the screws, the plastic support piece will be removed and then pull the light bulb out of the assembly. The bulb is surrounded by grey rubber so you must pull that down below the bulb to where u can see the wiring where it connects to the bulb.
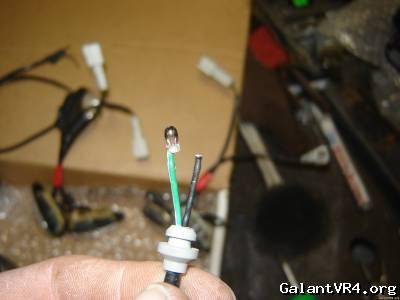
Cut the bulb off the wiring and then strip the wire insulation to where their will be 1 wire exposed surrounded by solder. It makes it easier if u have something or someone to hold the bulb while you solder the wires to it so it doesn't move, but i did it by myself.You can shorten the tail on the new bulb before soldering the wires to it if you want,but you don't have to. You should probably use a smaller soldering gun to do this, i used my bigger one which made it alittle more difficult but its possible.
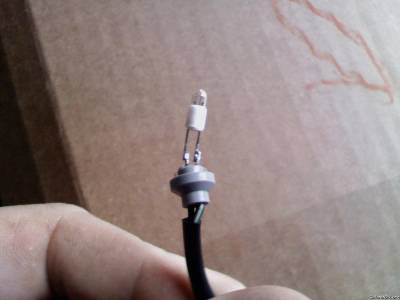
Lastly after u have soldered the new bulb on, pull the rubber protector up around the bulb and re-install.
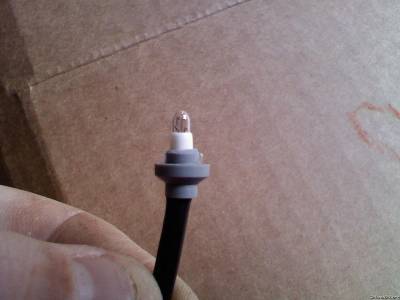
Hope this helps anyone else who has to do this. If u have any other questions feel free to ask /ubbthreads/images/graemlins/grin.gif
Mods feel free to move this to the How-To-Section
Radioshack sells these bulbs they are almost exactly the same size as the factory bulbs and they are just as bright
First remove your light assembly from you fender if not done so already. On the bottom side of the light assembly there is two screws which u must remove.
After you remove the screws, the plastic support piece will be removed and then pull the light bulb out of the assembly. The bulb is surrounded by grey rubber so you must pull that down below the bulb to where u can see the wiring where it connects to the bulb.
Cut the bulb off the wiring and then strip the wire insulation to where their will be 1 wire exposed surrounded by solder. It makes it easier if u have something or someone to hold the bulb while you solder the wires to it so it doesn't move, but i did it by myself.You can shorten the tail on the new bulb before soldering the wires to it if you want,but you don't have to. You should probably use a smaller soldering gun to do this, i used my bigger one which made it alittle more difficult but its possible.
Lastly after u have soldered the new bulb on, pull the rubber protector up around the bulb and re-install.
Hope this helps anyone else who has to do this. If u have any other questions feel free to ask /ubbthreads/images/graemlins/grin.gif
Mods feel free to move this to the How-To-Section
Last edited:


